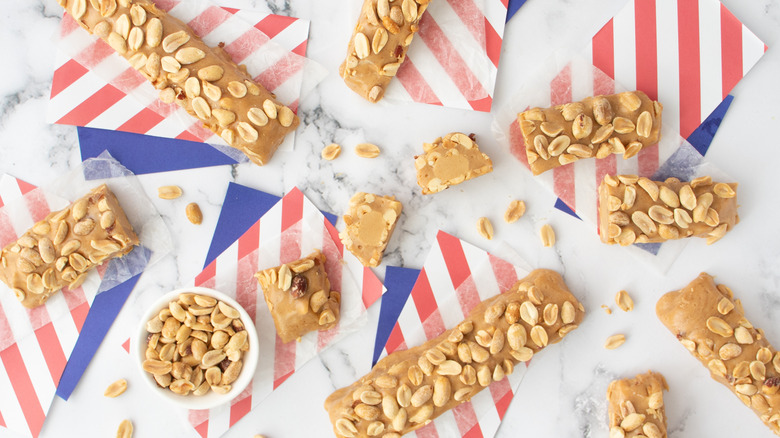
DIY Payday Candy Recipe
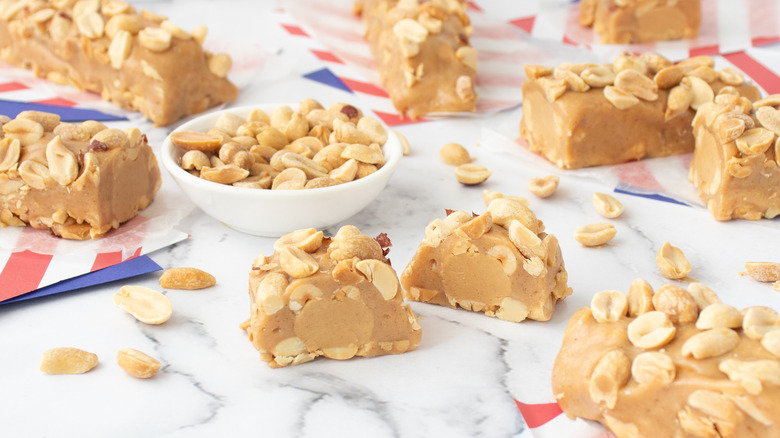
If you're a fan of classic candy bars, you might find yourself wondering if you could make your own version of the treat. Whether it's for the sense of satisfaction or due to a shortage at your local shop, learning how to make your favorite candy bar is a useful skill. For Mashed recipe developer Patterson Watkins, that means mastering a certain peanut-filled sweet treat. "We are a Payday every day kinda household," she says. That and her love for all things peanuts and peanut butter was all it took for her to enthusiastically work on developing a DIY Payday candy recipe.
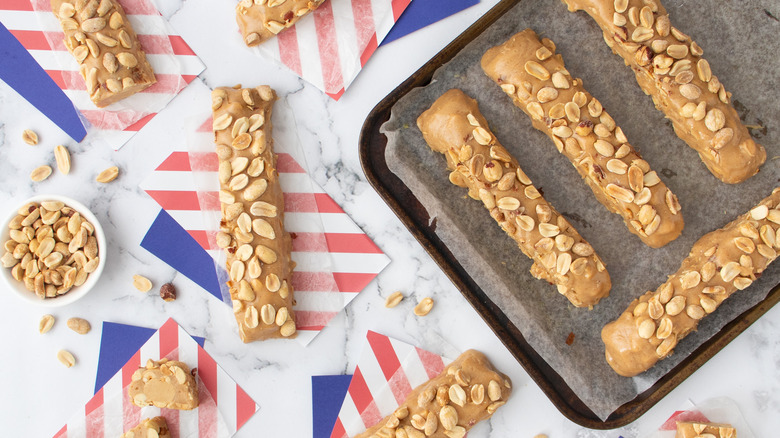
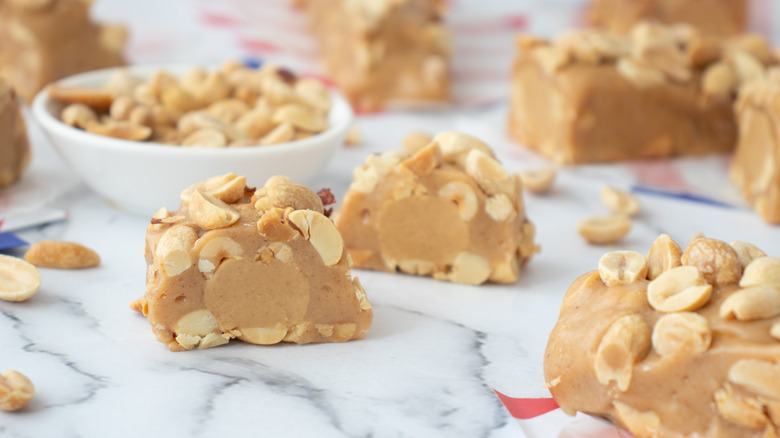
With a silky peanut butter coating and plenty of peanuts both inside and out, Watkins' homemade Payday creation is spot-on — minus paying for the candy bar at the checkout counter. With this relatively straightforward (though undeniably sticky) recipe, you'll be able to snack on Payday bars any day of the week.
Gather the ingredients for this DIY Payday candy recipe
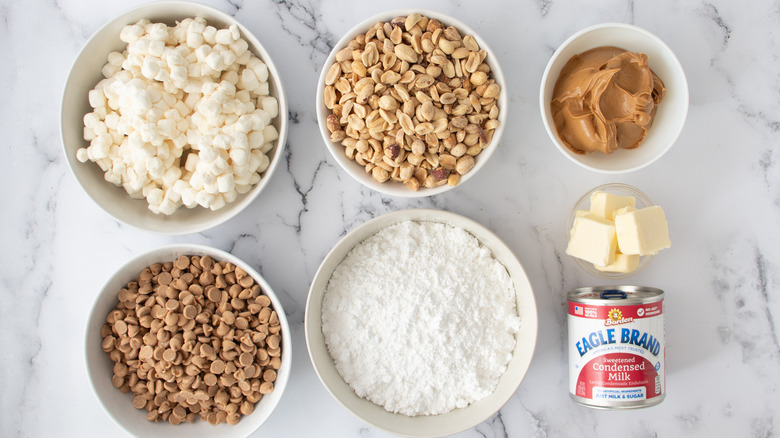
For the bar filling, you'll need softened butter, creamy peanut butter, and powdered sugar. For this purpose, Watkins suggests sticking to classic creamy peanut butter brands rather than the natural ones, which "tend to have that whole oily separation thing going on," she explains. "Natural peanut butters also tend to be thicker, and that would skew the ratios in this recipe."
For the creamy coating, grab some dry roasted salted peanuts, more softened butter, peanut butter baking chips, a can of sweetened condensed milk, and mini marshmallows. While you can certainly add extra goodies to create your dream Payday bar, Watkins comments, "I'm a bit of a traditionalist when it comes to Paydays." Still, she acknowledges the many delicious possibilities and says, "If you are so inclined, decorate, sprinkle, and garnish to your heart's content. If you do add in your own bit of flair, sprinkle your additions onto your bars before refrigerating and setting — this way they'll stick."
Step 1: Prep a dish
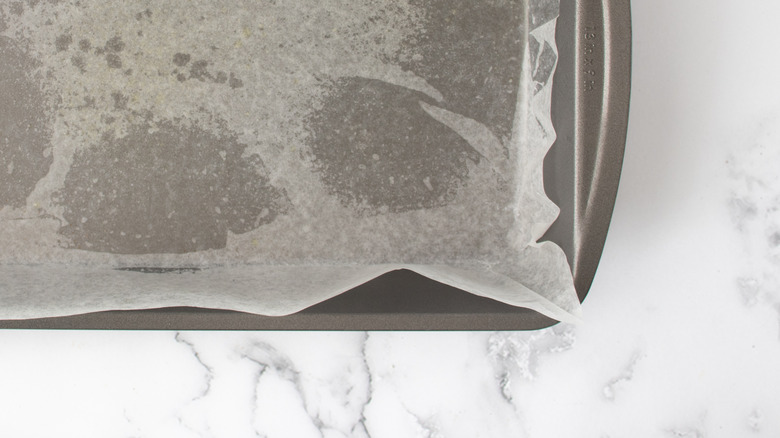
Line a 9x13-inch baking dish with wax paper and lightly spritz with cooking spray. Set aside.
Step 2: Prep a sheet tray
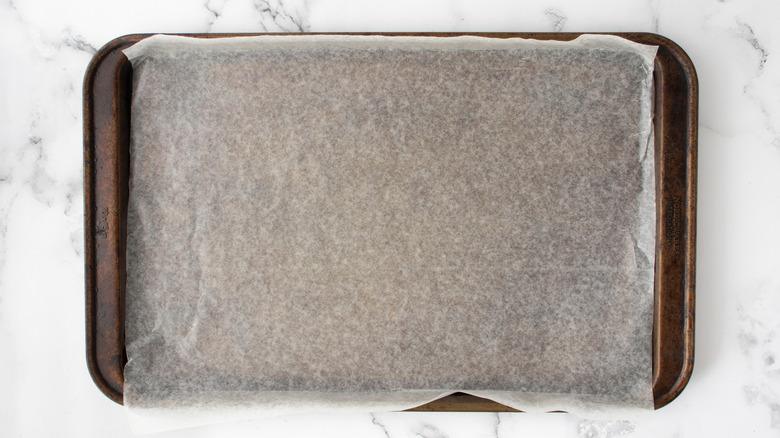
Line a large baking sheet with wax paper and set aside.
Step 3: Make the filling
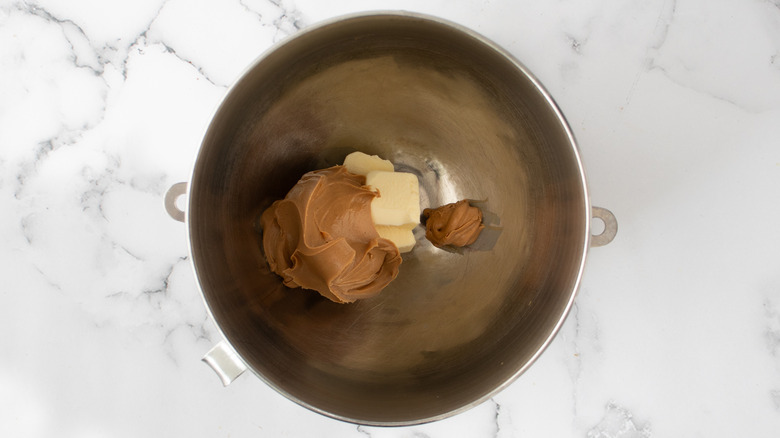
To make the filling, place butter and peanut butter in the bowl of a stand mixer fitted with the paddle attachment.
Step 4: Mix
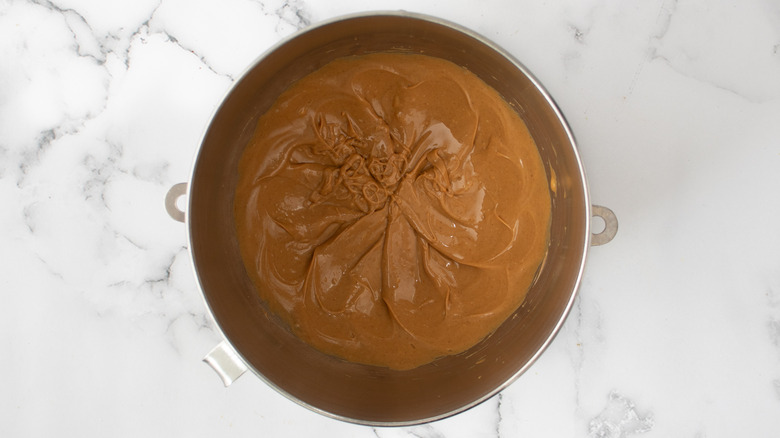
Blend until smooth.
Step 5: Add sugar
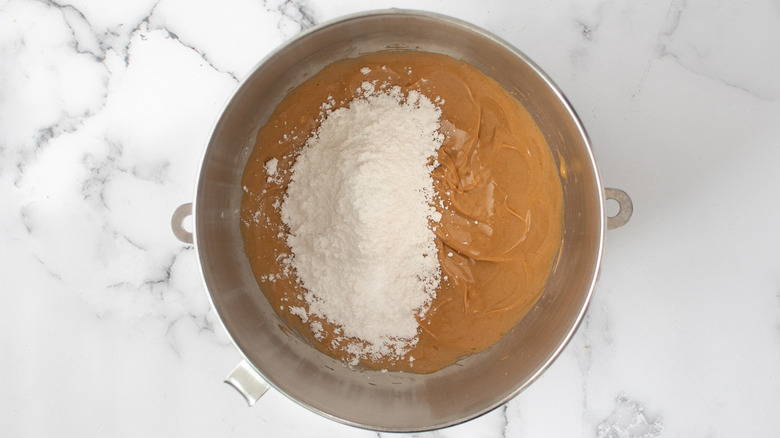
Gradually add powdered sugar while continuing to mix.
Step 6: Keep mixing
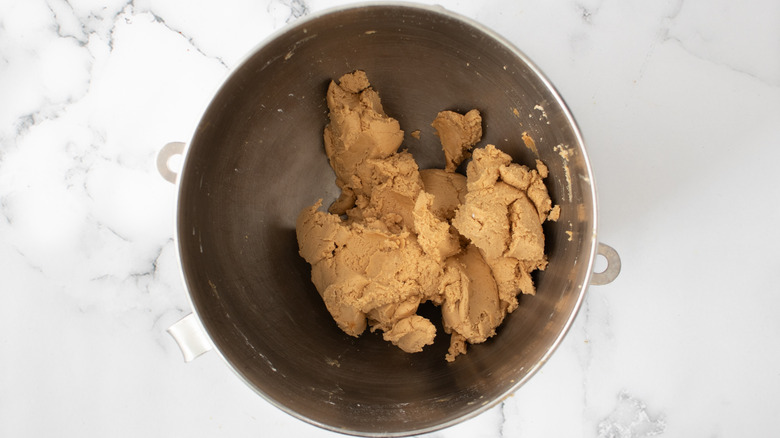
Combine until thick and fully incorporated.
Step 7: Make and freeze the candy centers
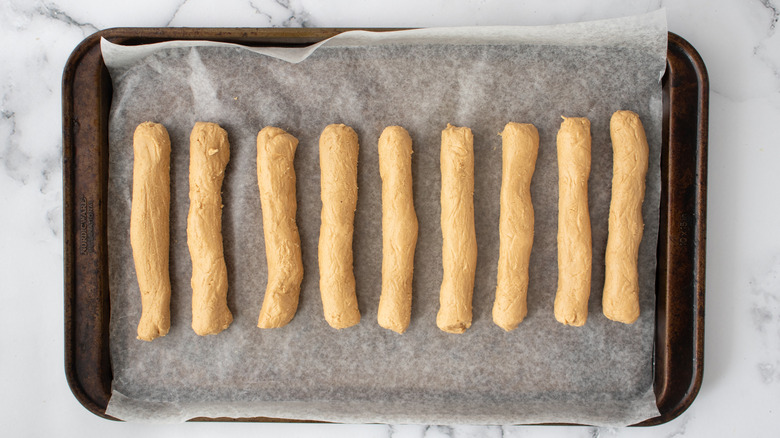
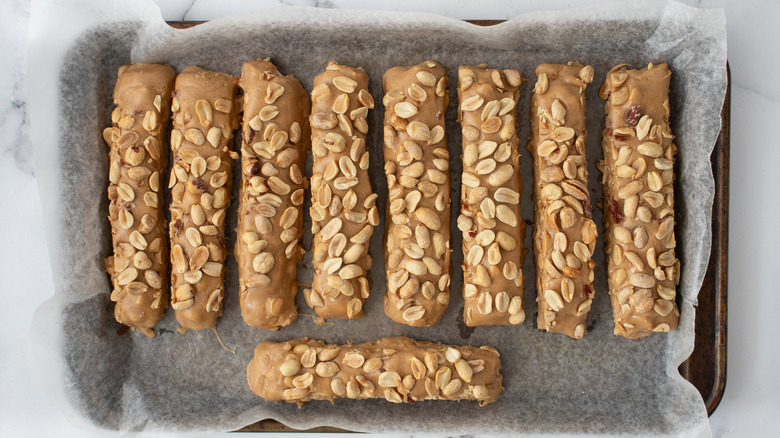
Divide peanut butter mixture into 9 even portions and roll each into a thick rope. Arrange ropes on the prepared baking sheet and place in the freezer until set and firm, about 30 minutes.
Step 8: Prep the peanut coating
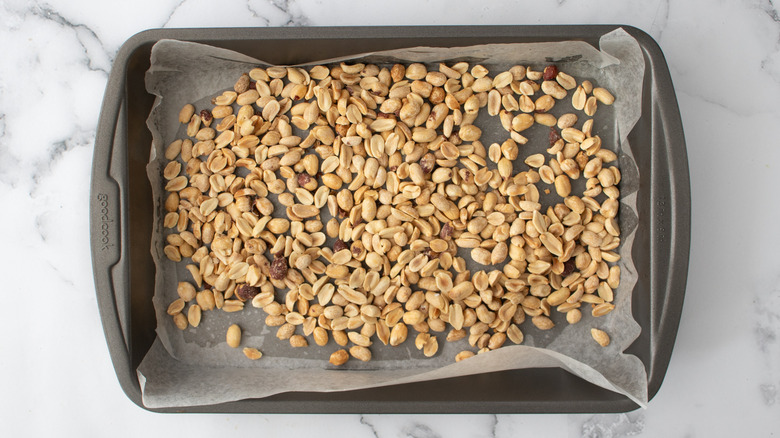
Meanwhile, place 2 cups dry roasted peanuts in the prepared baking dish, spread out evenly, and set aside.
Step 9: Make the smooth coating
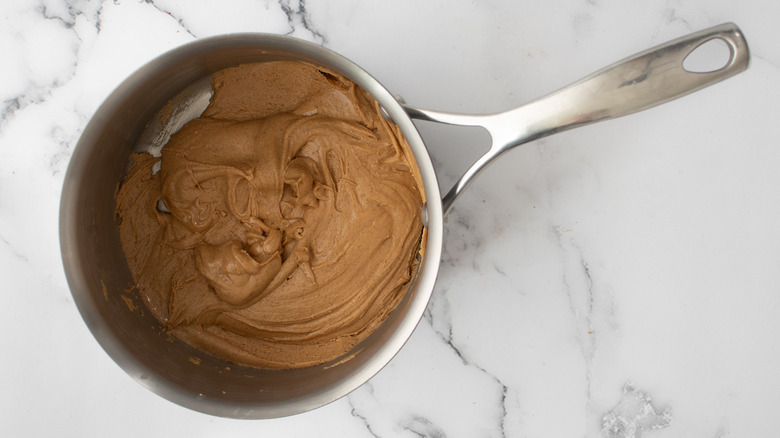
For the coating, place butter and peanut butter chips in a large saucepan and melt over medium-low heat, stirring frequently.
Step 10: Add condensed milk
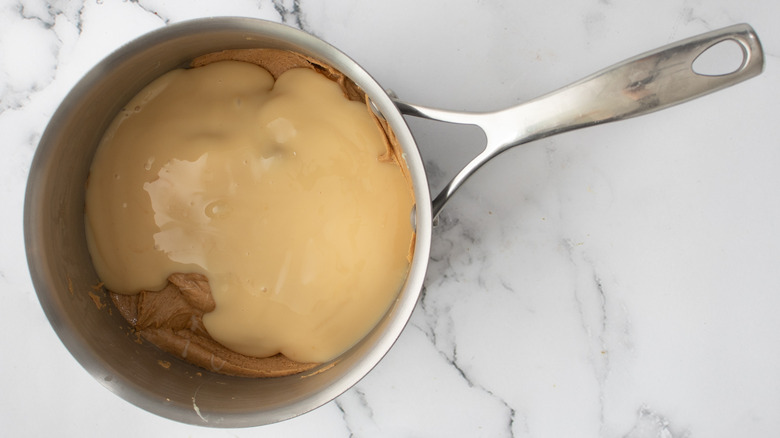
Once melted, add sweetened condensed milk and whisk to combine. (If mixture is too thick, add a couple tablespoons of milk to thin it out, until the consistency is that of melted caramel).
Step 11: Add marshmallows
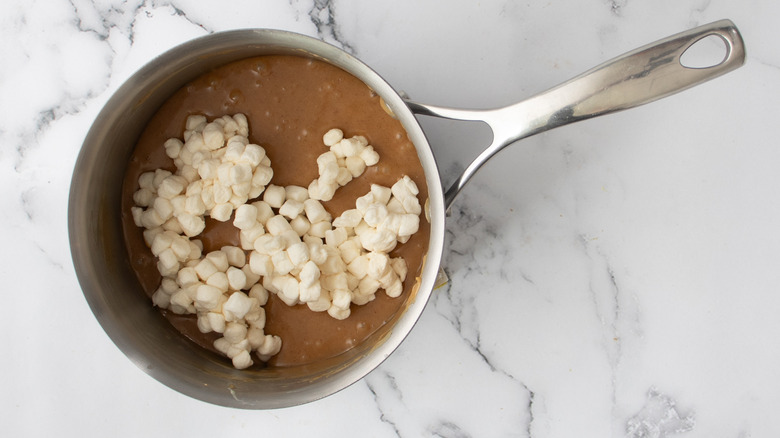
Add marshmallows, stir to combine, and continue to cook, stirring frequently, until marshmallows have melted.
Step 12: Transfer the candy centers to the peanuts
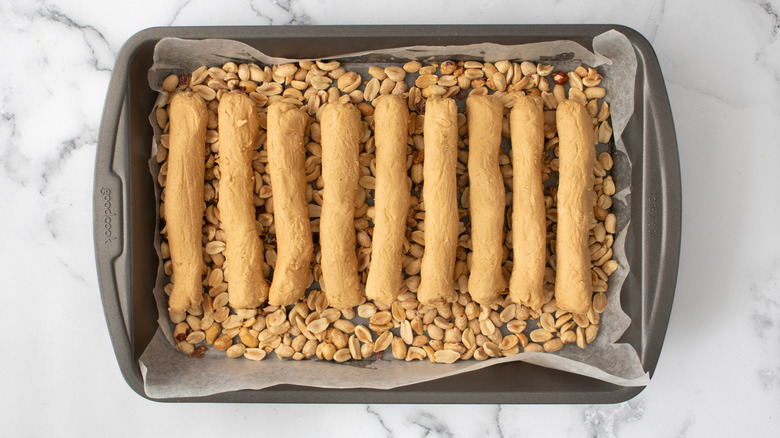
Once set, transfer peanut butter ropes to the casserole dish and gently press to adhere the peanuts.
Step 13: Coat the candy bars
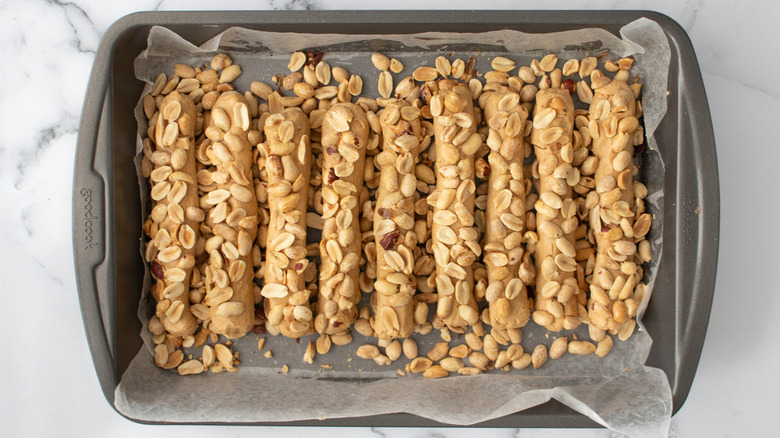
Carefully flip the ropes over and press to adhere the peanuts to the other side.
Step 14: Pour over the smooth coating
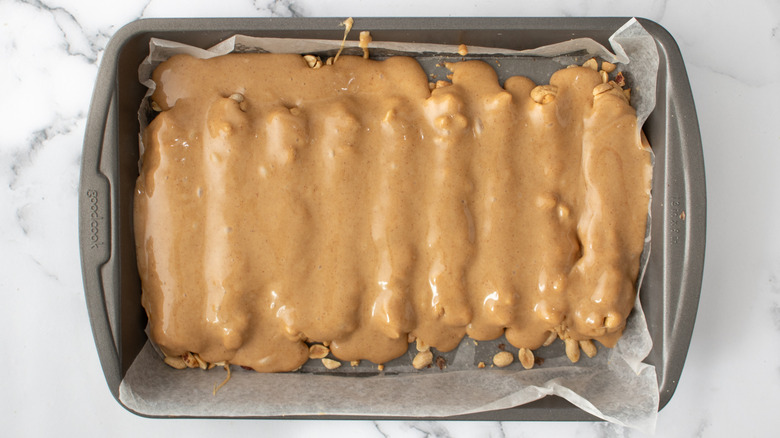
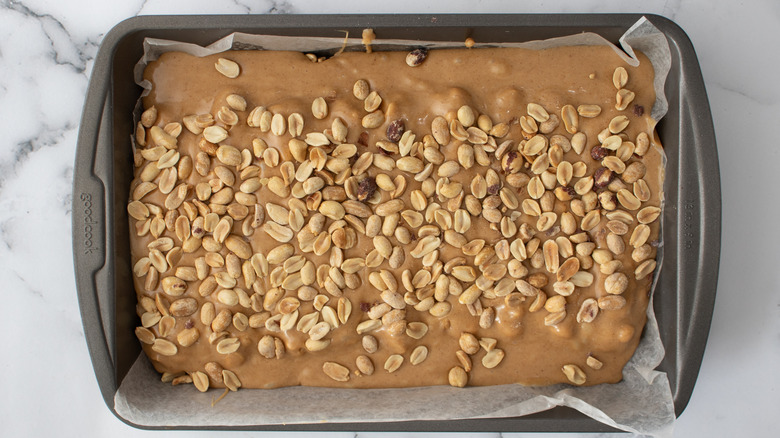
Spoon or pour the marshmallow coating over the ropes, covering completely.
Step 15: Add more peanuts, and chill
Sprinkle the top of the coated ropes with the remaining 1 cup peanuts and refrigerate until set, about 2 hours (or overnight).
Step 16: Cut into bars
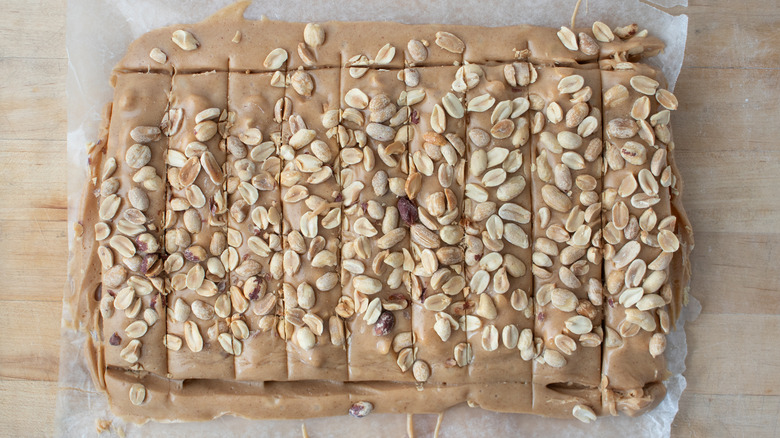
Once set, transfer to a cutting board and cut into bars, trimming away any excess coating.
Step 17: Serve or chill
Refrigerate until ready to serve.
What is the best way to make the coating for DIY Payday candy bars?
Considering the fact that these Payday bars contain peanut butter and marshmallows, it's no surprise that the consistency of the coating is quite sticky. To give you an idea: "I found some peanut butter coating in my husband's hair! He wasn't even around when I made these and, to my knowledge, hadn't eaten a bar yet," Watkins shares. For this reason, she recommends wearing gloves while making this recipe, especially if you're planning on making these with kids.
Aside from the overall stickiness of these treats, Watkins notes that it's important to check the texture of the coating before the marshmallows go in. "Unfortunately, not all peanut butter chips are created equally, and you may have a much thicker melt than anticipated." Thankfully, she offers some advice to fix this issue: "Add a couple tablespoons of milk or half-and-half to thin it out slightly. You want the mixture to pour and coat, not clump."
How can I store this DIY Payday candy?
You'll notice your DIY Payday candy is far fresher than what you get at the store, which is why you can't leave it on the counter beyond your snacking session. "Keep these bad boys refrigerated!" Watkins advises. "The coating will start to soften if left at room temperature for long periods." If kept in an airtight container in the fridge, the bars should last for 1 week. "Unfortunately, I didn't test these bars in the freezer — they didn't last long enough," Watkins adds, which sounds about right for such a delicious treat.
And if you're thinking of gifting these homemade Payday bars, Watkins notes that they can't spend too much time outside of the refrigerator. However, you could always share these with friends and family she says by creating smaller candy bites and serving them at a cookie exchange, she suggests.
- For the filling
- 4 tablespoons butter, softened
- 1 cup creamy peanut butter
- 1 ¾ cups powdered sugar
- For the coating
- 3 cups dry roasted salted peanuts, divided
- 2 tablespoons butter, softened
- 2 cups peanut butter baking chips
- 1 (14-ounce) can sweetened condensed milk
- 2 ½ cups mini marshmallows
- Line a 9x13-inch baking dish with wax paper and lightly spritz with cooking spray. Set aside.
- Line a large baking sheet with wax paper and set aside.
- To make the filling, place butter and peanut butter in the bowl of a stand mixer fitted with the paddle attachment.
- Blend until smooth.
- Gradually add powdered sugar while continuing to mix.
- Combine until thick and fully incorporated.
- Divide peanut butter mixture into 9 even portions. Roll each into a thick rope. Arrange ropes on the prepared baking sheet and place in the freezer until set and firm, about 30 minutes.
- Meanwhile, place 2 cups dry roasted peanuts in the prepared casserole dish, spread out evenly, and set aside.
- For the coating, place butter and peanut butter chips in a large saucepan and melt over medium-low heat, stirring frequently.
- Once melted, add sweetened condensed milk and whisk to combine. (If mixture is too thick, add a couple tablespoons of milk to thin it out, until the consistency is that of melted caramel).
- Add marshmallows, stir to combine, and continue to cook, stirring frequently, until marshmallows have melted.
- Once set, transfer peanut butter ropes to the casserole dish and gently press to adhere the peanuts.
- Carefully flip the ropes over and press to adhere the peanuts to the other side.
- Spoon or pour the marshmallow coating over the ropes, covering completely.
- Sprinkle the top of the coated ropes with the remaining 1 cup peanuts and refrigerate until set, about 2 hours (or overnight).
- Once set, transfer to a cutting board and cut into bars, trimming away any excess coating.
- Refrigerate until ready to serve.
| Calories per Serving | 1,144 |
| Total Fat | 79.9 g |
| Saturated Fat | 19.8 g |
| Trans Fat | 0.1 g |
| Cholesterol | 35.3 mg |
| Total Carbohydrates | 88.1 g |
| Dietary Fiber | 8.4 g |
| Total Sugars | 66.2 g |
| Sodium | 282.8 mg |
| Protein | 34.8 g |
